The first week of a Ross broiler chick’s life is critical. Proper brooding management for Ross broilers ensures strong health, optimal growth, low mortality — setting up the flock for good performance. This section outlines the guidelines of environmental parameters, management practices, and key monitoring tasks for the first seven days (days 0–7).
Preparation before chicks arrive
House preparation
Remove all organic matter including litter. Clean and disinfect properly. Ensure to disinfect feeders, drinkers and drinker lines.
Ensure dry clean bedding material is used to prepare the house.
Pre-heat the house at least 24 hours before arrival. Ensure that both air and floor/bedding temperatures are stable.
Ensure ventilation works, no drafts, and equipment (heating, lighting, feeding, water) is in good condition.
Litter/Bedding
Choose bedding material with good absorbency (wood shavings, rice hulls, chopped straw etc.). Spread to a moderate depth to avoid cold floor contact but thin enough to avoid dampness accumulation.
Ensure litter is dry and non-caked.
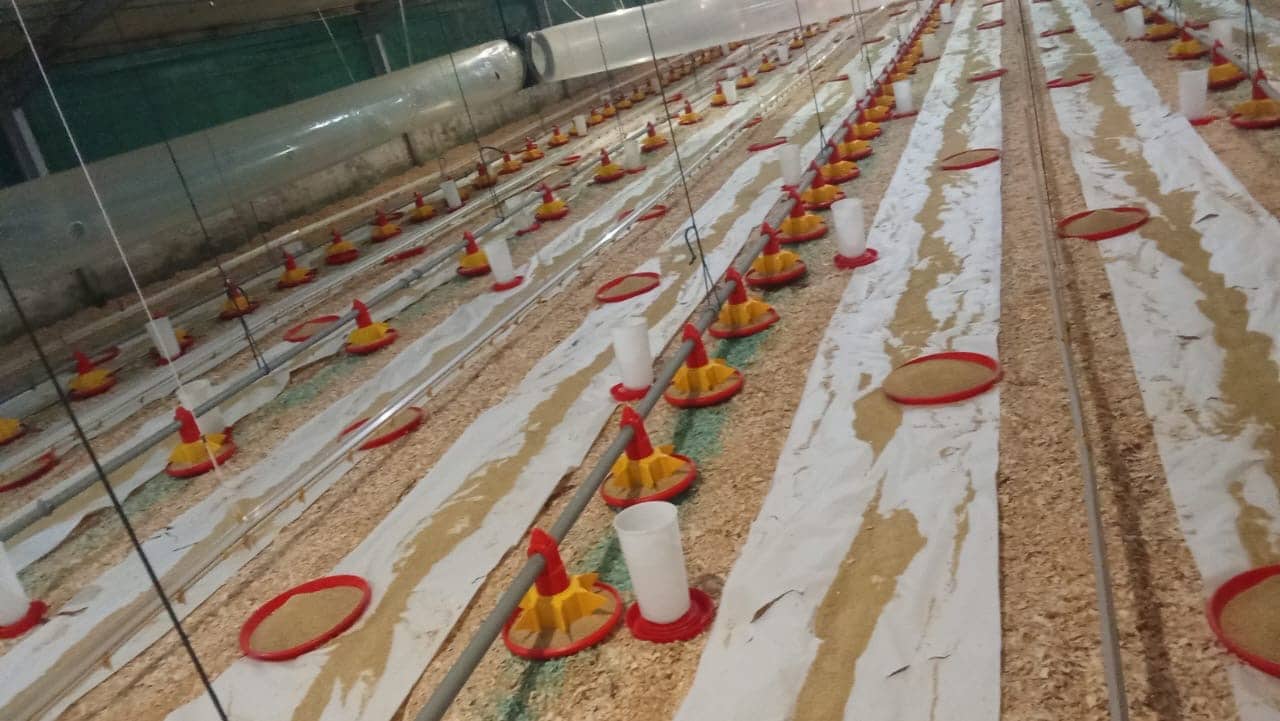
Equipment layout
Place feeders and drinkers so chicks can easily find them. Use supplementary drinkers for the first few days.
Ensure sufficient feed is available. Add additional feeder pans and feed on paper for the first 3-4 days.
Lighting should cover the brooding area to help chicks locate feed & water. Lighting must be uniform without dark spots.
Heating rings / brooders if used should be centered and capable of being adjusted.
House Pre-placementAfter placement – Closed house vs Open-sided house
Temperature and Humidity Targets
Day
Air Temperature at Chick Level*
Relative Humidity (RH)
Day 0 (placement)
~ 32-36 °C depending on RH (for Ross, a common target is ~ 36 °C if RH is ~ 50-60%)
~ 60-70 %
Day 3
Gradually reduce to ~ 33-34 °C
Maintain RH around 60-70 %
Day 6-7
Further reduction to ~ 31-32 °C (depending on behavior of chicks and ambient conditions)
RH around 60 %
*Check both air (chamber) temperature and floor temperature. Chicks are in contact with litter/floor. Cold floors chill the birds even if air is warm.
Ventilation
Minimum ventilation from day one, to bring in fresh air and remove moisture, CO₂, ammonia, etc., without causing drafts.
Behavioral observations are crucial
If chicks huddle together under heaters = too cold.
If they spread toward the edges, crowd near walls, panting = too hot.
Uniform distribution under heat sources is ideal.
Lighting
Provide nearly continuous lighting during the first 7 days (for example, 23 hours light / 1-hour dark) to stimulate feed & water intake.
Light intensity should allow chicks to clearly see feed and water, but not so bright as to cause stress.
Use dimmer/adjustable lights or light curtains if needed.
Feed & Water Management
Starter Feed
Use a high-quality starter diet appropriate for Ross broilers. Nutrient density should support good early growth (protein, essential amino acids, energy, vitamins, minerals).
Particle size/form
Fine crumble or small mash is ideal so chicks can eat easily.
Feeder type and placement
Use tray feeders or paper with feed scattered near drinkers on day 0 so chicks find feed easily.
Ensure feed is evenly distributed.
As days go on, transition to regular feeders.
Water
Fresh, clean water available from the start. Some farms dip beaks of chicks in water to help them find water.
Water temperature should be warm (not cold). Cold water discourages drinking and can chill chicks.
Use supplementary drinkers for the first 2-3 days.
Ensure water flow / drinker height is correct to avoid leakage or chicks not being able to use them.
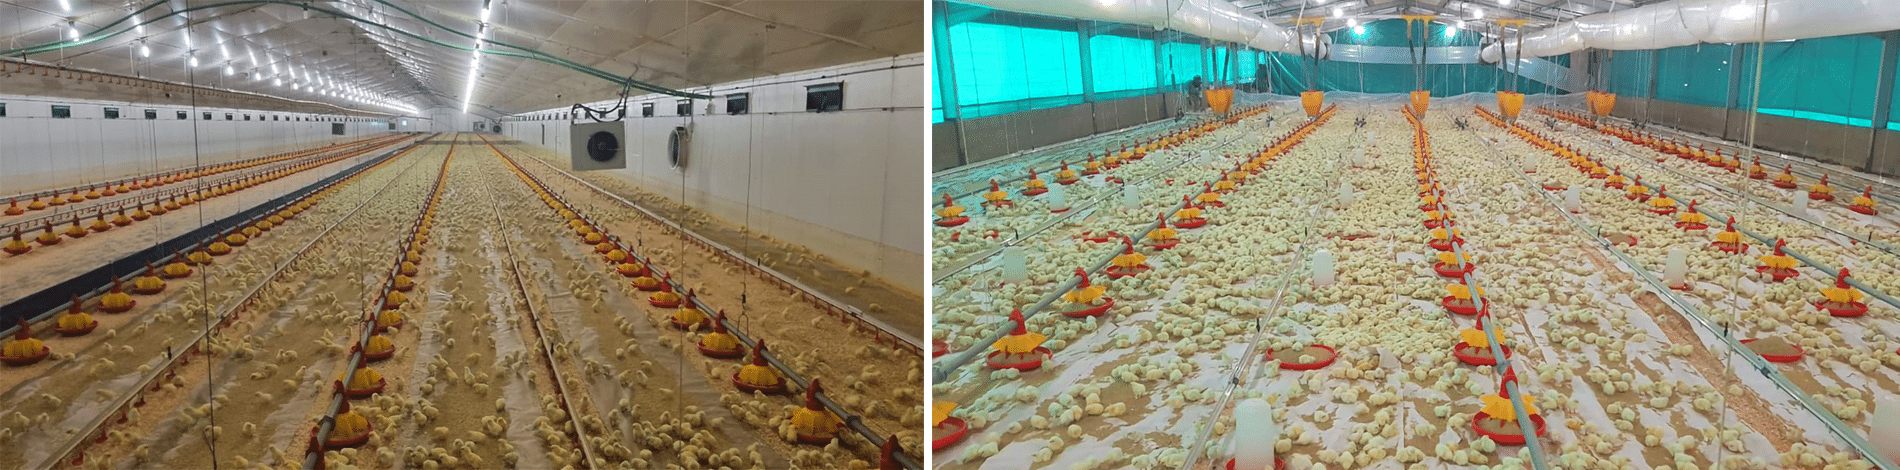
Stocking Density & Brooder Space
At placement, chicks need space to avoid overcrowding under heat sources. Brooding rings or brooder guards can help concentrate heat but must be used properly.
Gradually expand brooding rings and remove them by day 5-7.
If using whole-house brooding (i.e., heating the entire floor space), ensure even heating coverage.
Health, Biosecurity & Monitoring
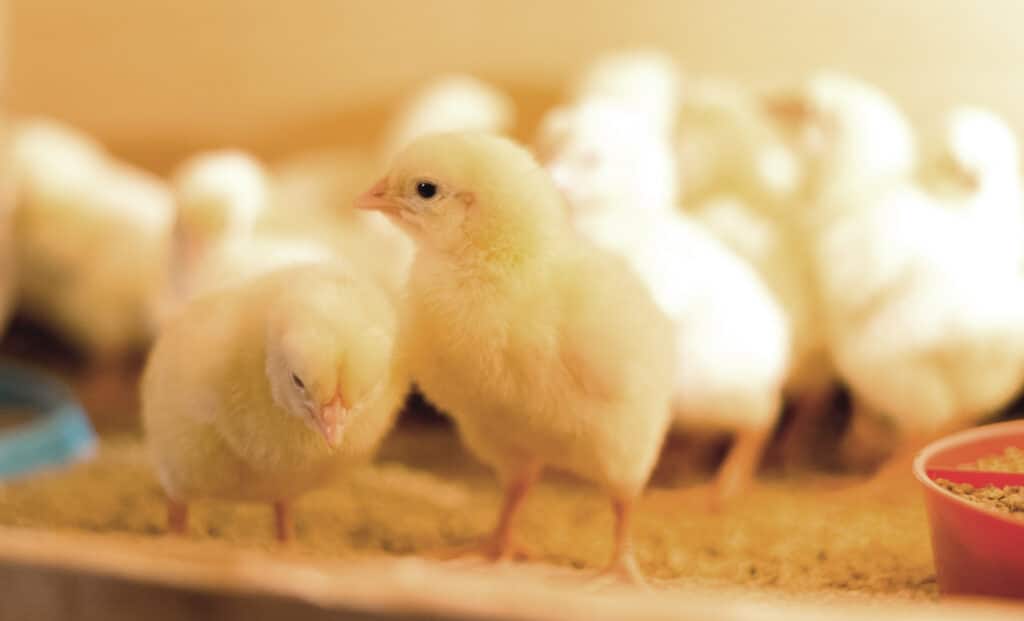
Chick quality
On arrival, check for vigor, properly dried after hatch, free of deformities, fully retracted yolk sac, healed navel.
Crop fill checks
This is very important in first 24-48 hours. The crop should be soft and full of feed (and water). Targets might be ~ 75% full at 2h, 95% at 24h. If many chicks have empty crops, investigate feed/water access.
Vent temperature
Measure body/vent temperature in sample chicks during first few days to assess comfort. Aim for approximately 39.4-40.8 °C in Ross chicks.
Day-to-day monitoring
Mortality and culls: note abnormal behavior, but small deaths are expected.
Litter condition: moisture, cleanliness.
Air quality: ammonia, dust.
Feed & water consumption: gives indication of health & environment.
Behavior: are they eating, drinking, resting normally? Are there signs of distress?
Biosecurity
Limit farm traffic, disinfect footwear, tools. Avoid exposure to wild birds, rodents. Any visitors should follow protocols.
Avoid placing other poultry species (including commercial layers) on the same farm.
Movement of chicks before and after placement
Sample Schedule: What to Do Each Day (Days 0-7)
Day
Key Tasks / Focus
Day 0 (placement)
Unload chicks quickly; place them onto paper with feed & water available. Ensure environment is prepped (heat, humidity, lighting). Do initial crop fill check at ~2h post-placement. Monitor whether chicks are able to find feed & water.
Day 1
Continue monitoring temp/behavior. Clean water troughs, adjust drinker height if needed. Keep feed fresh and plentiful. Observe crop fill again (~8-12h).
Day 2–3
Gradually adjust temperature downward if chicks seem comfortable. Expand brooding area / brooder ring. Maintain high light. Confirm feed & water access throughout. Monitor litter for damp spots.
Day 4–5
Remove brooding rings completely by day ~5-7. Ensure chicks are transitioning to main feeders. Start moving feed away from supplemental trays. Monitor growth (weigh sample birds perhaps).
Day 6-7
Steady environment; ensure uniformity in the flock. Check that ventilation is sufficient. Continue checking water & feed equipment. Ensure litter remains dry & clean. Prepare for transition into next phase of rearing.
Target Performance Indicators (for First 7 Days)
Mortality: Should be low; high mortality points to management, environment or chick quality problems.
Weight Gain / Uniformity: Chicks should gain steadily; uniformity is very important so that there are no lagging birds.
Feed Conversion: During starter phase, good feed conversion helps reduce feed costs later.
Health: No signs of pasty-vent, dehydration, leg problems, respiratory issues.
Summary
The success of the flock largely depends on doing brooding well. Mistakes in the first week are hard to catch up later.
Maintain optimal temperature & humidity, maintain clean environment, ensure feed & water are accessible.
Observe chick behavior; the birds will tell you if conditions are wrong (crowding, panting, huddling).
Be proactive: monitor crop fill, gut development, health signs daily.
Keep everything clean; strong biosecurity ≥ fewer health problems.